How to Shoot Product Photos with Just a Phone
You can take good product photos with any recent phone if you control three things: the light, the background and how steady the phone is. Set the product near a window, put it on a plain surface, hold the phone still and tap to focus on the product, and you will get a photo that is clear enough for a listing or to use as the starting point for AI product photography. The rest of this guide covers each step in detail.
By ShootPX Team · · Updated
Start with a clean lens and a clean product
A phone lens picks up fingerprints and pocket dust constantly, and the result is a soft, hazy photo that no editing can rescue. Wipe the lens with a soft, clean cloth before every session. Do the same for the product: lint on dark fabric, fingerprints on glass or steel and dust on jewellery all show up more clearly in a photo than they do in person.
Use window light, not the phone's flash
Light is the biggest difference between a rough photo and a good one. The phone's flash is small and harsh, and it flattens the product and creates hard shadows and glare. A window gives you a larger, softer light for free.
- Place the product near a window with daylight coming through, not in direct sun.
- If sunlight is strong, hang a thin white curtain or a sheet across the window to soften it.
- Put the product so the light falls on it from the side. Side light shows shape and texture.
- Switch off room lights, since mixed colours of light make colours look off.
The dedicated guide on lighting at home without special equipment covers reflectors and mixed light in more depth.
Choose a plain background
A plain background keeps attention on the product and makes the edges easy to see. A large sheet of white or light grey paper, a clean tabletop or a piece of plain fabric will do. Curve the paper up behind the product so there is no visible line where the table ends and the wall begins.
Remove anything else from the frame: chargers, cups, your reflection in glossy products. If you are going to upload the photo to a generation tool, an uncluttered frame also helps the tool understand where the product ends.
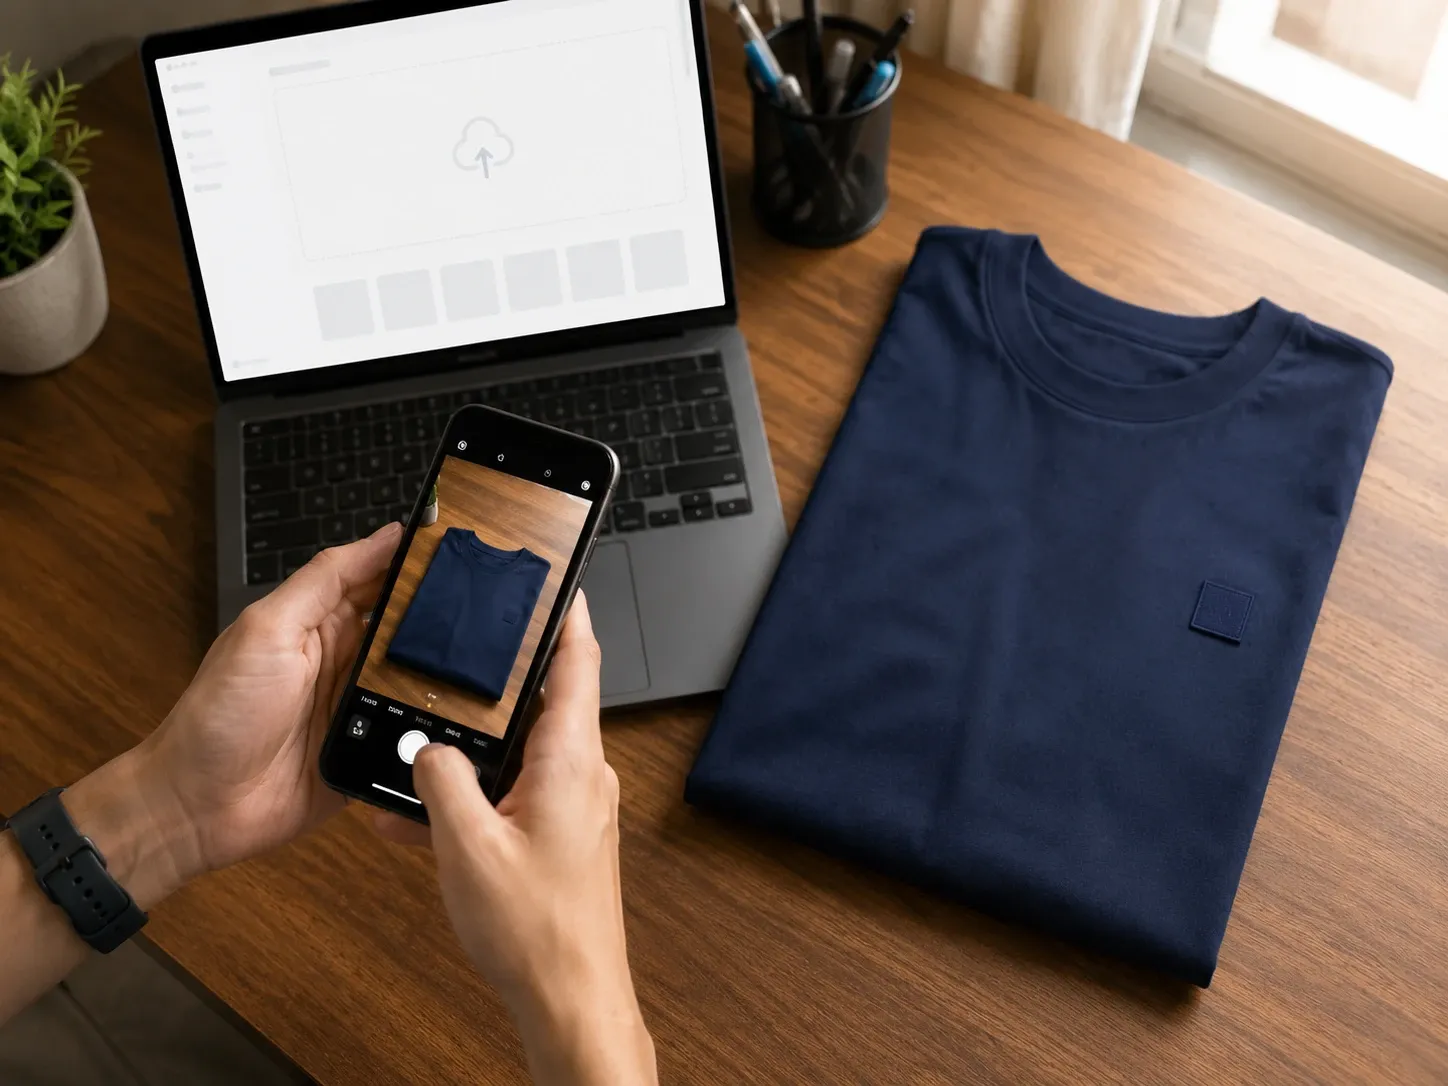
Keep the phone steady and level
Blur from shaky hands is common in dim rooms, because the phone lengthens its exposure. Rest your elbows on the table, lean the phone on a stack of books, or use a small tripod if you have one. Use the grid lines in your camera settings to keep the horizon straight and the product level, and use the timer so pressing the button does not shake the phone.
- Shoot straight on for most items, and from above for flat lay items.
- Keep the phone parallel to the product to avoid a stretched or leaning shape.
- Stand back a little and zoom in slightly, rather than holding the phone very close. Very close shots can distort shapes.
Focus and exposure
Tap on the product on the screen so the phone focuses there rather than on the background. After tapping, most phones show a small brightness slider. Slide it until the product looks correctly bright, not dark and not washed out. If the product is white, phones often make it look grey, so nudge the brightness up. If the product is dark, they can wash it out, so nudge it down.
Take more than one angle
Sellers who take one photo often need a reshoot later. Take a small set every time:
- Front view of the whole product.
- Back view.
- Side or three-quarter view.
- A close-up of a detail such as fabric, stitching, a clasp or a label.
- A photo that shows scale, such as the product held in a hand.
You may not use all of them, but having them means you can answer buyer questions later without going back to the item.
A quick checklist before you upload
- Is the whole product in the frame with some space around it?
- Is it sharp when you zoom in on the screen?
- Does the colour on the screen look like the real item?
- Are there no reflections, stray objects or shadows crossing the product?
- Is the file a PNG, JPEG or WebP under 10 MB, if you plan to use it in ShootPX?
What to do with the photo next
A clear phone photo is a complete deliverable in itself for many listings. If you want a cleaner scene, a styled setting or another colour, you can use it as the starting point for a generation tool. Listing Photoshoot builds new images around your photo, and the AI product photography guide explains what to expect. Whichever route you take, compare the final image with the real product before you publish.
Frequently asked questions
Do I need a tripod?
Not strictly. Resting the phone on a stack of books and using the camera timer gives most of the benefit. A tripod just makes it easier.
Should I use portrait mode?
It depends on the product. Portrait mode blurs the background by estimating edges, and it can blur parts of the product. Check the edges if you use it, or leave it off and use a plain background instead.