Listing Photoshoot: Listing-Ready Product Photos from One Upload
Listing Photoshoot is the ShootPX tool for making product images you can put on a marketplace or store listing. You upload a photo of your product, describe the scene you want in a sentence, choose a quality, resolution and shape, and it generates new images of that product. It is the tool to start with if you need clean, consistent images for a product page.
By ShootPX Team · Updated
What you put in
The input is one or more photos of your product. Files can be PNG, JPEG or WebP, up to 10 MB each. A sharp photo with the entire product visible works best, because the tool builds the new image around what it can see. A phone photo taken near a window is a perfectly good starting point.
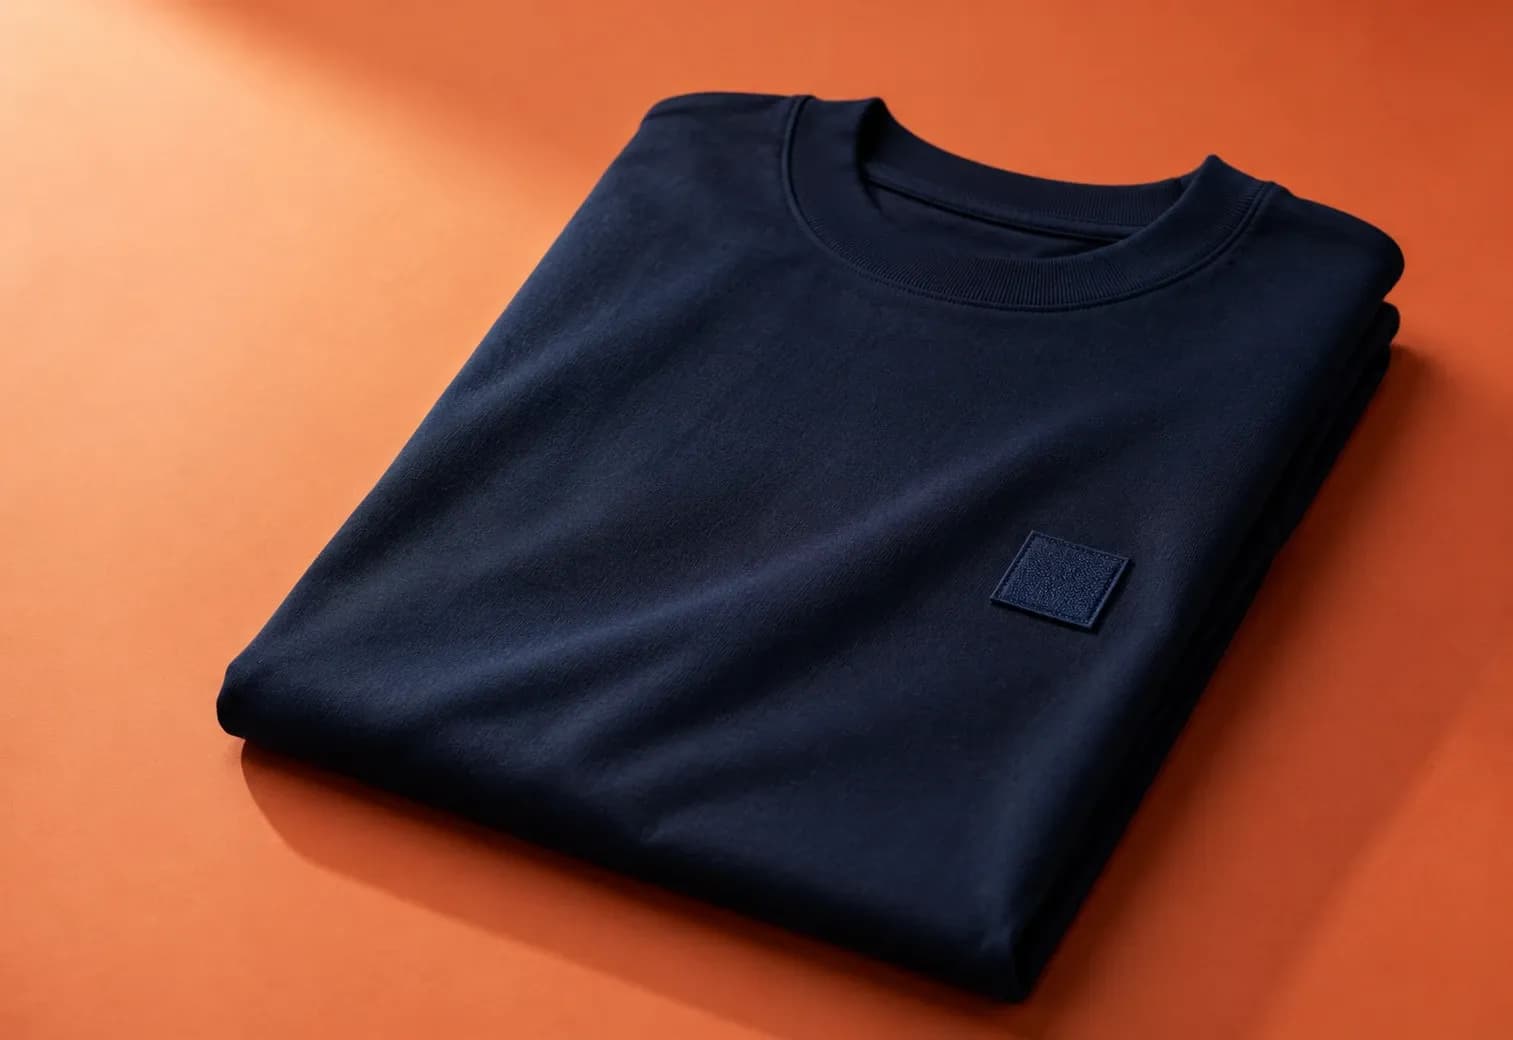
You then set how the result should look. The settings panel groups them into Settings and a prompt box at the bottom.
The settings you control
- Output images: how many images to generate in one run. Each extra image costs more credits, so start small while you are testing a look.
- Size: the shape of the image. Choose it from the aspect-ratio options in the panel, and pick the shape that suits where the image will be used.
- Resolution: 1K, 2K or 4K. Higher resolution costs more credits.
- Quality: a step from low up to max. Higher quality costs more credits, and the panel shows the credit cost of each level at your chosen resolution.
- Prompt: a short description of the scene, for example a stone ledge in cold morning light.
Under the prompt box there is an Enhance prompt button, which rewrites your description into a fuller one. It is free, and it only suggests a rewrite. You accept or dismiss it, so your own text is never replaced without your say-so.
How to run a listing shoot
- Open Listing Photoshoot from the Tools page in the studio.
- Upload your product photo.
- Set the number of images, size, resolution and quality.
- Write the scene in the prompt box. Keep it to what should be around the product, not a description of the product itself.
- Check the credit figure shown near the Generate button and press Generate.
- Review the images. Download single images or use Download all.
Checking the result before you publish
Look at the generated image the way a buyer would. Is the colour the colour of the item you will ship? Are the edges, straps, buttons or prints where they should be? Is any writing on the product still readable and correct? Generated images can vary in fine detail, so a quick side-by-side with the real product is worth the minute it takes.
Then read the image guidelines of the marketplace you are selling on. They change over time and differ between marketplaces, so ShootPX does not try to guess them for you. If a guideline asks for a specific background or framing on the main image, put that in your prompt and confirm the result meets it.
When to pick a different tool
Listing Photoshoot is built around a product on its own in a scene. If you want a more styled, story-driven image, Creative Photoshoot gives you preset ideas as well as free-text prompts. If the product exists in one colour and you need others, Recolor changes the colour without a new scene. For clothing that should be seen on a person, Model Shoot handles that.
Any set of results can also be sent to another tool from the results screen with the Send to option, so a listing image can become the input for a recolor.
Frequently asked questions
How many photos can I upload?
The upload area shows the limit for the tool when you open it. Files must be PNG, JPEG or WebP and no larger than 10 MB each.
Does the cost change with settings?
Yes. Quality, resolution and the number of images all change the credit cost, and the estimate is shown before you generate.